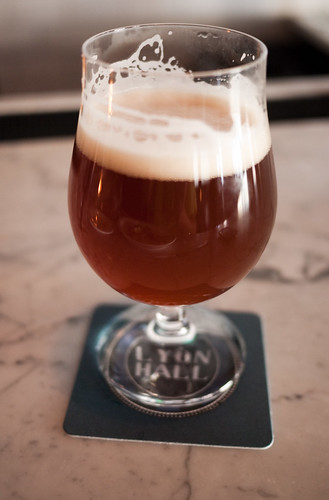
Beer at Lyon Hall
courtesy of Kevin H.
A while back I wrote about the easiest homebrew recipe I had ever heard of. It turned out okay but not great. Drinkable but not exciting. I was at the homebrew shop a few weeks ago and saw a can of Mountmellick Brown Ale. Similar story here – pour the syrup in a sanitized fermenter, add a kilo of dry malt extract, and add boiling water. Bada bing, bada boom, you have wort to ferment. It was only $20. How could I go wrong, I wondered.
I just kegged and force-carbonated the brown ale not too long ago and it turned out surprisingly well. It is smooth, has a pleasant mouthfeel, and does not have a lot of hoppy bitterness. Very nice indeed. The hops could be a bit stronger, but overall it is fine as-is and very drinkable. I highly recommend doing this if you want a basic brown ale to sip while your more complex brews are bubbling away. This is also a great way to try your hand at brewing if you are interested in making something easy and good right from the start.
 There’s a problem with this product, though. Note the condition of the can at left. The recipe for the beer, not that there is much of a recipe, is on the back of the label. I tried cutting along the “cut here” line, but found that the entire label was glued on, or at least appeared to be, around the whole of the can, not just where the label overlapped itself. I soaked the can in soapy water for quite a long time but the glue never released its hold on the label, and when I tried to gently peel it, the paper more or less disintegrated. The label never really came off, certainly not in one piece, so I did not get to read the directions. Oh well.
Here is the recipe I used:
- One can of Mountmellick’s Brown Ale pre-hopped malt extract
- Two pounds or one kilo of dried light malt extract
- The package of yeast that came with the can
Two days before making the beer, I made a yeast starter with the little packet of yeast. In this case, it was mostly because I do not trust those little packets that come with these kits. Making a starter is the best way to ensure the yeast are, in fact, alive, and help them prosper.
Pour the syrup and DME into a sanitized fermenter and boil two gallons of water in your brew pot. Pour the boiling water into the fermenter and mix it until the DME lumps are all out of the mixture. Be sure to splash a lot to get oxygen back into the liquid you just boiled. Fill the fermenter the rest of the way with water, let it cool to room temperature, and pour in your yeast slurry.
A best practice would be to let it ferment for a week or two, then transfer it to a secondary fermenter for clarifying. I skipped the secondary fermentation and kegged it after two weeks in the primary. It turned out fine. Again, I highly recommend this beer if you want something quick and easy.
This post originally appeared at RealHomebrew.com.
Great article about Homebrewing recipes. Where did you get those news from? Have a good one, Kathrin!